
So if you live in Canada and not in Quebec, then you just had a long weekend. For what? Nobody really knows. Actually, let's Google that! Result: Nobody the heck knows, even within our country we don't know what it's for. But it's there and I'm not complaining about a day off work, if indeed I could get a day off (more on this later, if you care).
Excuses =(
Since getting my part-time job in addition to my full time job, it's really extremely cut down on my time. Also cause I refuse to give up on my weekly social outings, though they have suffered as well. What else has suffered? If you are one of my now 10 followers (Thanks to Karenbear and bdon, my new followers, and fellow bloggers) YOU GUYS of course. Ha ha, maybe you haven't suffered but anyway, I missed last weeks post and I'm very sorry. I spend the entire weekend both Saturday and Sunday from 8am to 5pm getting CPR training and of course going out afterwards. So it left me no time to bake something new. I could've just posted a blog about my 3rd Epic Baking Weekend item but it wasn't well documented enough to post.
My Crazy Schedule
Oh wait... I missed 2 weeks there didn't I?... Sorry! =( But I'm back! If it wasn't Jenny's birthday BBQ this weekend, I probably would've opted out of baking this long weekend too. Why? You ask. Because after my Friday 9-5 job, I was called in for a 6-10 shift at my second job, after which I went out.... I was scheduled to work Sat.1-10 and Sunday 11-8 then I was also called to come in early for an on-call shift at 11 (I was on-call for 12)and was lucky enough to get off early at 3 to get to the BBQ =), from which we returned home around 11. So it was a busy weekend, it left me Thursday night to pick up ingredients and a birthday gift with dearest and then dinner with friends =D. Saturday morning to bake the cupcakes and Monday morning to frost and decorate them. Call me crazy but I did it.
I have to say though that having this second job has been pretty beneficial to me. When I have time off, I actually take it to rest and it's not so long that I'm wasting away in front of the t.v. I'm still working out regularly though I miss a day every so often. Though I'm happy because I'm seeing results. And because I'm working so much and going out less, I've been saving a lot of money.... More money to bake with =D kekekek.
Back to Baking
Now take a look at these beauties. Well to be honest, they're not that beautiful but boy were they good. This time I took plenty of pics, maybe more than you can handle. I made 2 types of cupcakes, a plain cupcake, from the pound cake recipe I used the Mother's Day cupcakes, with chocolate frosting topped with strawberries and blueberries and a Caramilk filled cupcake with chocolate frosting. I was going to make a vanilla frosting for the fruit cupcake but work restricted the time I had that morning. I used the same cupcake batter for both to make things easy.
You'll start to find that a lot of the directions for a certain item are very much the same (e.g. cookies or cupcakes). That's because they do use a lot of the same ingredients, the biggest thing that differs is proportions of ingredients and how you use them. This was the first time I used the full recipe, with out cutting it in half and I found that things feel the same but they start to look a little different. This is something that's important to take note of. Often at home it's not such a big deal when you double or triple a recipe, but when it comes to commercial production, you will start to notices some changes in flavour or consistency. This maybe because the mixing method you're using is no long effective or the proportions need to be adjusted.
Anyway here's how I did it:
Step 1: Make the Cupcake
If you want a quick condensed version of this, go to my Mother's day Blog, but since I made the full recipe this time I wanted to show you what everything looked like at each step and some reminders, which I, to my dismay, forgot.
Step 1: Cut the Butter into cubes and beat them
Cutting the butter helps you beat them better as they are in smaller cubes and you're not trying to drill your hand mixer into a large block of butter. I took wax paper and laid it over my cutting board for easy clean up.

I forgot to beat the butter and it's a very helpful step because if you add the sugar in without beating the butter, first of all, the sugar will go flying everywhere, with bits of butter helping to fling it around and second, the cubes of butter will run away from you, helped by the sugar because it's no long sticking to the bowl but instead to sugar. If you forget, it's not terrible, it just takes a bit longer to really mix these to the right consistency.
Step 2: Beat in the Sugar
If you were like me and forgot to beat the butter, all is not lost, try stabbing your butter with your beaters so you actually mix the butter instead of having it run away from you. Cause then all you get are cubes of sugar covered butter and the little bits by the beaters that you actually managed to catch. The big pieces will still run away from you and if your not careful and you try to go after them, the beaters will just propel them at you.


Beat until it looks like fluffy and yes this time they do look quite fluffy, not wet sand. Interesting ya? no? *shrugs*

Step 3: Add your flavouring
I just added Vanilla,
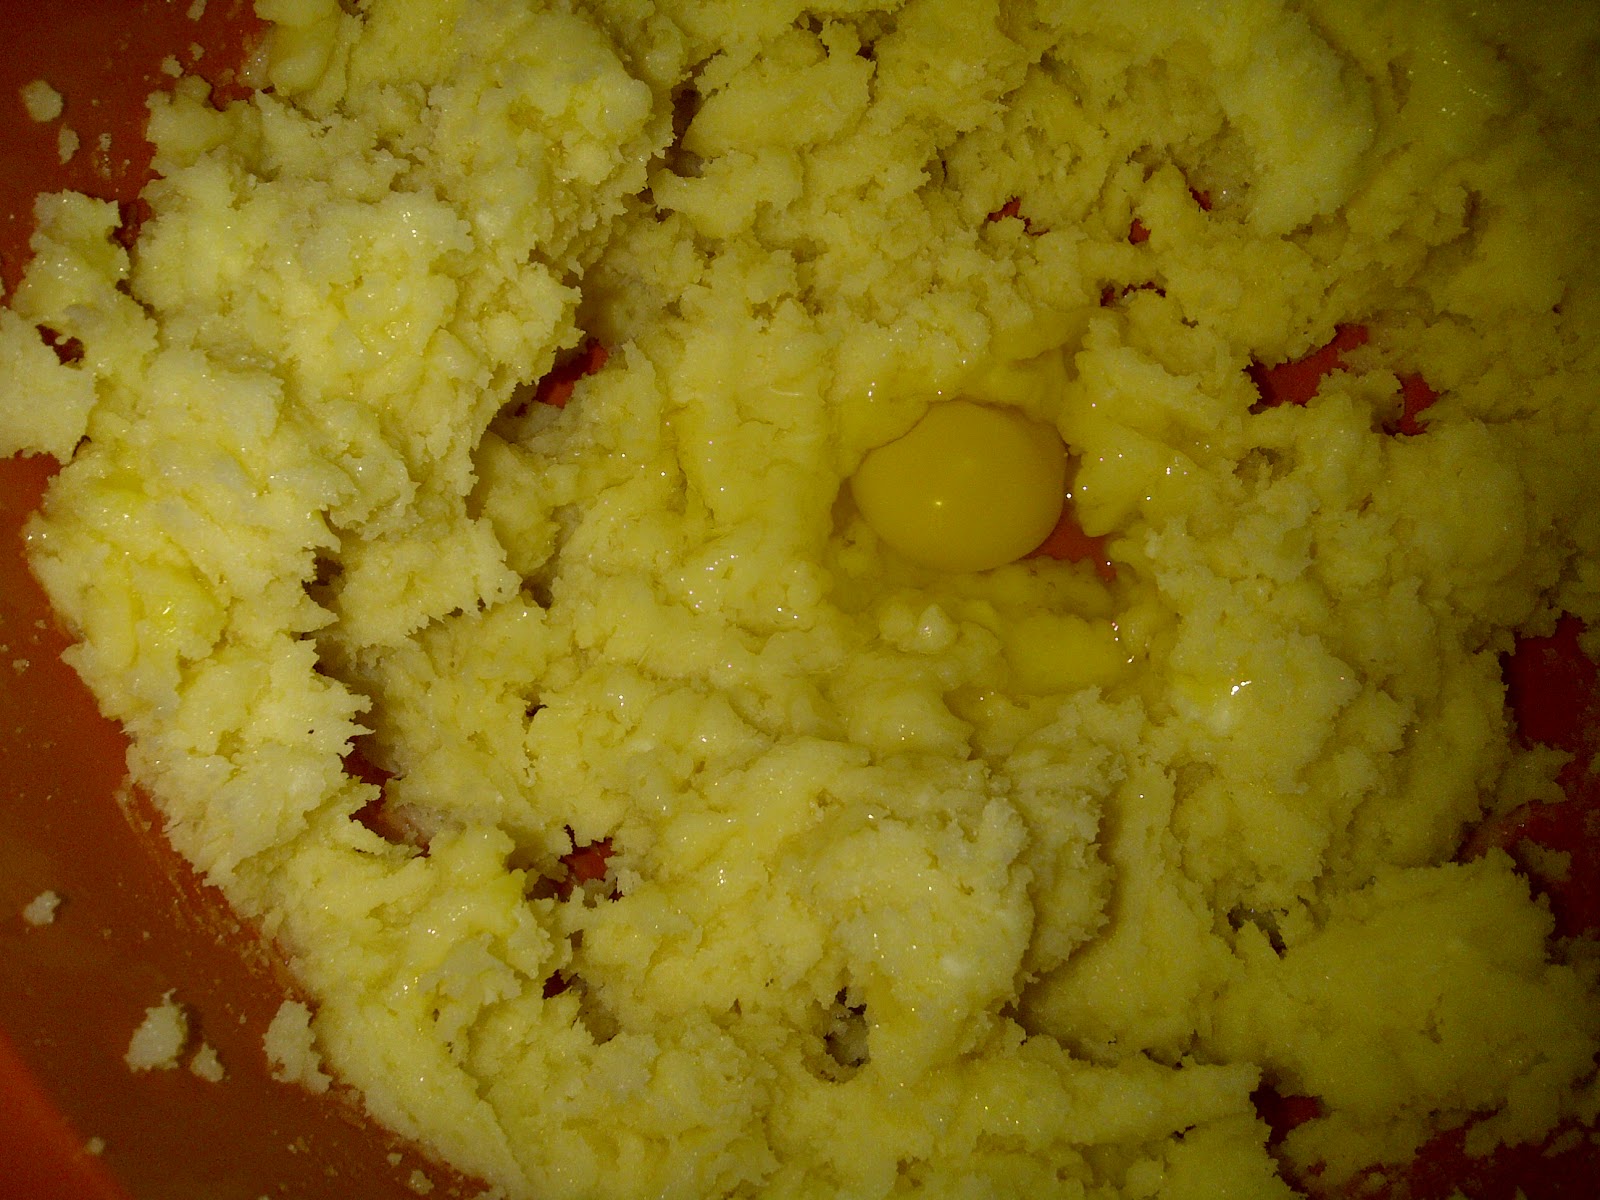
Step 4: Beat in the eggs one by one
There were a lot of eggs since I used the full recipe, Here are just pics of the entire process.
 | |
| Add Egg 1 |
 | |
| After Egg 1 |
 | |
| Add Egg 2 |
 | |
After Egg 2 |
Remember! to scrap the sides and bottom of the bowl every egg or two to make sure all the ingredients are well mixed.
 | |
| Scrape sides and bottom |
 | |
| Add Egg 3 |
 | |
| After Egg 3 |
 | |
| Add Egg 4, Forgot to Scrap |
 | |
| After Egg 4 |
 | |
| Add Egg 5 |
 | |
| Scrap after egg 5 |
 | |
| Add Egg 6 |
 |
| After Egg 6 |
You get the idea, I just wanted to show you that even though it starts to look a little different you do turn out with the same looking batter at the end =) And remember to scrape, see the scrape marks?
Step 5: Add the sifted flour in parts
Sifting the flour should've been step 0 actually, part of the mise en place! Don't mix it completely in. I actually don't even turn on the mixer for this. I just use the beaters to mix the ingredients in. Over-mixing can make your cakes tough.
 |
| First Addition of Flour |
 | |
| Mixing the flour with the beaters,don't turn on the mixer! |
 |
| After a while |
 |
| And finally, add the second batch of flour at this point |
 | |
| Second addition of flour |
Remember: Scrap the bowl after added the flour too. Look at how much dry ingredients I found after scraping the bottom of the bowl.

Step 6: Add your Whipped Cream
You can add whipped cream from one of those aerosol bottles or whip your own. I prefer to whip my own. It helps if your cream and equipment are cold. Remember cream melts in the heat so you want to keep everything cold! Again I mix the whipped cream just to combine, you don't want to lose the air-ness of the cream by squishing it under heavy batter.

Step 7: Fill your greased and floured pan
Again, greasing and flouring your pan should have been a mise en place step. Try getting used to measuring and preping all your equipment and ingredients before hand, you'll find that it'll make your baking process go a lot smoother and more enjoyable. It'll be just like one of those cooking shows, those always look so easy.... too easy... >=|.
Tip: Rub your pan with butter roughly, it doesn't need to be completely covered, just the majority, it's okay if you have clumps of butter in there as well. Then take a bit of paper towel and make a little ball out of it. Make sure you have a good grip on one of the ends. Rub the other end with a bit more butter (so it doesn't soak up or rub off the butter in the next step). Then take used the paper towel ball to smooth the butter into all the areas of your pan. Then light dust flour on to your pan, shake it around and flip it upside down over the sink and tap the excess flour out. This gives you the perfect thin covering of flour =)
Tip: If you're using a mini pan, like I did, or just to make things a little cleaner for you, maybe, you can pipe the batter into the pan. I just used zip lock bags to put all the batter into. It helps because it's a lot easier to store in your fridge and you can clean up your big mixing bowl. And after your done piping, you can just throw the bag out.
How to Fill a Piping Bag
Place your bag into a cup that is large enough to hold the volume of the bag. be sure that the tip of the bag is facing downward and that the edge of the bag can be folded over the edge of the cup, otherwise you might lose your bag into a sticky mess.

Hold one edge of the bag to the side of the cup to keep it from sliding into the cup and full your bag with your batter or frosting. When you have filled it to the top, wipe the edge of the cup/ends of the bag and remove it from the cup. Seal the bag or twist the top and secure it.

Cut the tip of the bag where you will be piping out of and pipe away. Make sure to keep twisting the bag to keep the pressure in the bag high enough that squeezing the batter/frosting out is smooth and easy.
Fruit Cupcakes: I filled them almost to the top of the pan and tapped them on the counter top to get the batter to sit right into the pan and also to get rid of air bubbles.


Caramilk Cupcakes: I filled the pans a bit to cover the bottom then pressed a peice of Caramilk into the batter, then added more batter to cover the chocolate piece, I also tapped the pan on the counter to get the batter to fill any holes in the pan.


Caramilk Cupcakes: I filled the pans a bit to cover the bottom then pressed a peice of Caramilk into the batter, then added more batter to cover the chocolate piece, I also tapped the pan on the counter to get the batter to fill any holes in the pan.

Step 8: Bake your cupcakes
Place your cupcakes into a pre-heated oven until a toothpick comes out clean from the center of the cake. It's important to have your oven pre-heated (mise en place!) to make sure the temperature inside the oven is stable at the temperature you want. Ovens turn their heaters on and off to achieve the temperature you set. You don't want to put your products in the oven when the temperature varies so much, this will mean you will have great variations in your end product.

Step 2: Make your Frosting
This is again one of Shirley's magnificent recipes, it turned out just as she promised in the book and it was my first time making it! Usually first time recipes are a disaster for me but this one turned out tasting lovely.
Step 1: Melt the Chocolate
Some of you might know, not many but some, I worked a Rocky Mountain Chocolate Factory for a short while. It was great cause I love chocolate and I learned a great deal about candy making techniques. One of which is how to properly melt chocolate or tempering. The way I did it is the slightly more crude version because I am mixing the chocolate with other ingredients and changing the consistency of it completely.
Put your chocolate into a microwave safe bowl, I used a glass measuring cup but be careful because glass can heat up without looking any different. Put your microwave down to half or a third of the max power level, depending on how powerful your microwave is and heat it in 30 second intervals. Be sure to mix your chocolate thoroughly before putting it in the microwave again. Chocolate tends to hold it's shape when it melts, so it will still look solid but the moment you touch it, and break it's surface, it'll liquify and could possibly burn you. It's also this property of chocolate that allowed me to put my Caramilk pieces into cupcakes without having to worry about them melting and mixing into my cake batter.


Continue until you have smooth lump free chocolate. Mmmmm, save some if you like to dip strawberries into. Yum!
Step 2: Mix your other ingredients and flavours together.
Here I used corn syrup, vanilla, a bit of salt brown sugar. I also added sour cream for making it creamy and giving a rich flavour.


Step 3: Add the chocolate to your other ingredients
Slowly pour your chocolate into your other ingredients using your had mixer. Mix until combined =) In the end your icing should be creamy and beautiful and deliciously chocolaty.
I put the icing into piping bags just like I did with the cake batter.

Step 3: Assemble
Once the cupcakes have cooled, and the must be cool as to not melt the icing, ice the cupcakes. I added strawberries and blueberries to the ones without Caramilk inside. Be sure to wash and dry them before placing them on the icing, the fruits will stick better if they are dry.


Anyway they still tasted great so I'm happy about that.

For next time:
- Jenny's friends brought her a beautiful strawberry shortcake and it was wonderfully light and delicious, I much prefer it to my denser pound cake. I think I'll save my pound cake recipe for cakes that I'll need to sculpt and opt for a shortcake for my little 2 bite cupcakes.
- I also need another mini cupcake pan or 2 or 3. I only had one and as a result had to wash and re-butter and flour about 5 or 6 times =(. Also mother was never too far away to remind me about how much of her energy I was wasting and I was by keeping the oven on for that long =(
- Reminder to Self: DON'T chill the chocolate frosting if you plan on piping with it after!
Nothing really interesting comes up for searching Busy Birthday Cupcakes, but here's the first link that came up on Google.
No comments:
Post a Comment